
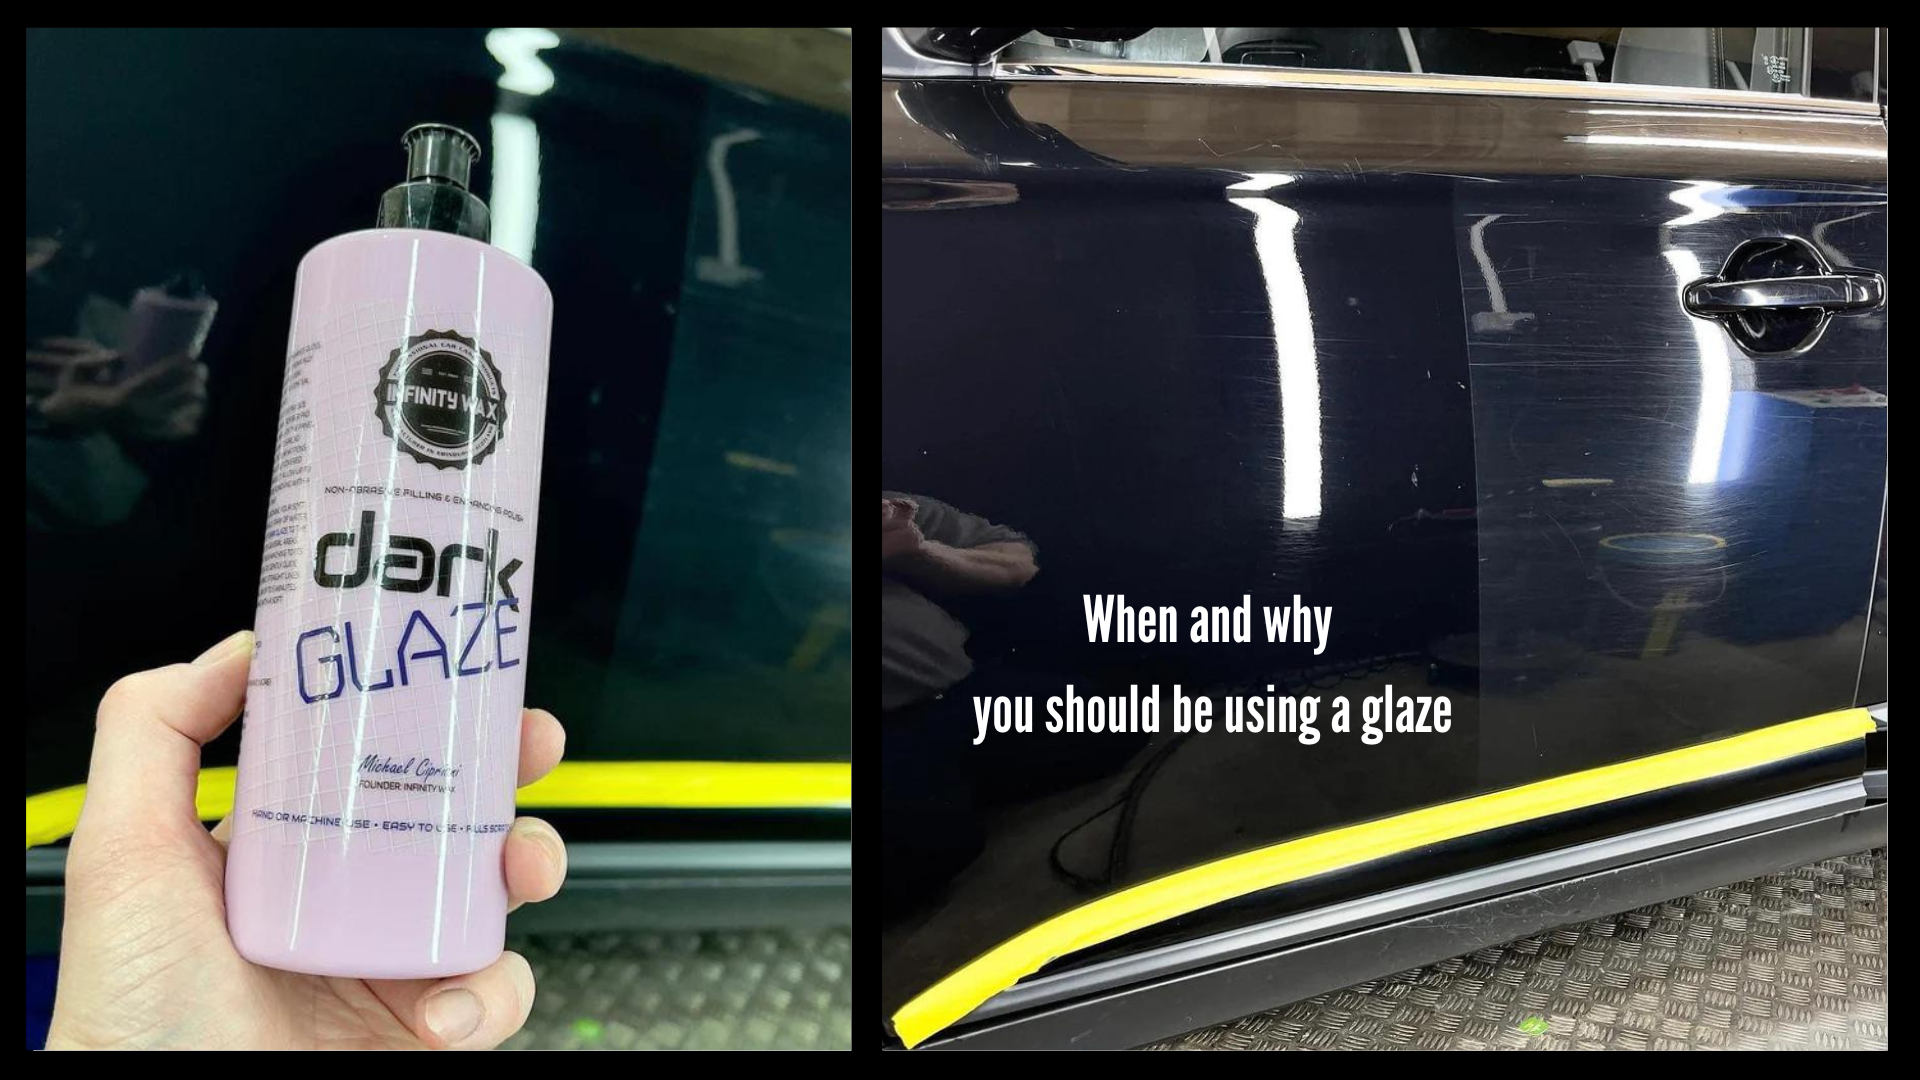
What Does A Glaze Do?
A glaze is typically an optional part of the detailing process, but when applied correctly, it can enhance the paint's gloss and depth. Essentially, glazes act as polishes that deposit oils, kaolin clay, or other substances to enhance gloss and depth while masking minor imperfections in the paint. Using a glaze before a car show is beneficial, especially for lighter-coloured vehicles where achieving depth and gloss can be challenging. However, one drawback of using a glaze is that it may diminish the bonding capacity of sealants or waxes, although they will still provide excellent protection.
Many people expect glazes to fill in minor imperfections, but for cars with swirls and scratches, investing in a polish for a permanent fix is recommended. For optimal results with a glaze, ensure your car is washed, clayed, and polished beforehand.
Do I need to apply a glaze?
Applying a glaze is optional and can be done as frequently or infrequently as you prefer. For optimal results, we suggest including a glaze during a full detailing process. This means applying it after washing, claying, and polishing, but before applying your sealant and/or wax. At the very least, ensure the vehicle is freshly washed before applying the glaze, followed by your choice of sealant and/or wax.
Applying a glaze by hand
- Dispense approximately two pea-sized drops onto the centre of the foam hand applicator pad.
- Outline your working area.
- Gently spread the glaze thinly and evenly within the outlined area.
- Using light pressure, work the glaze into the paint with overlapping circular motions.
- Wait 2-5 minutes, then remove the excess glaze with a clean microfiber towel.
- Repeat steps 1 through 5 until the entire vehicle is covered with glaze.
Applying Glaze By Machine
- Center your black pad on the backing plate.
- Apply three pea-sized drops of glaze in a triangular pattern towards the outer edge of the pad.
- Visualize your working area.
- Trace your working area with the glaze on your pad while the buffer is off.
- Set the buffer to your desired speed.
- Using the variable speed trigger, spread the product around your working area at a low speed.
- Apply light pressure (approximately 5 lbs) on the head of the buffer.
- Move the buffer at a controlled pace (approximately 5" per second) from one corner to the next.
- Once you reach the opposite corner, follow the same path back, overlapping your first pass by approximately 50%.
- Continue this pattern until you have applied the glaze to your entire working area.
- Repeat this process in the opposite direction (e.g., if you worked top to bottom the first time, switch to left to right and right to left).
- Once the glaze is worked into the paint, turn off the buffer.
- Remove the glaze from the paint using a clean microfiber towel.
- Repeat steps 2 through 13 until the entire vehicle is glazed.
Best Selling Glazes at My Car Cleaning


